Growing Tomatoes
Growing tomatoes is often the first starting point of a vegetable garden for amateur growers and every tomato lover dreams of growing the amazing, firm, juicy, tomatoes which are sweet and have no blossom end rot.
Tomatoes are unfortunately prone to many issues due to their growth and heavy cropping habit. The trick to growing amazing tomatoes is to choose the best varieties that suit you and your growing set up; this ensures the plants have the best start and helps to prevent problems before they happen.
Gro-Expert has produced this short guide to get you started with some tried and tested tomato growing tips to ensure your tomatoes are fabulous this year.
Soil and growing position for Tomatoes
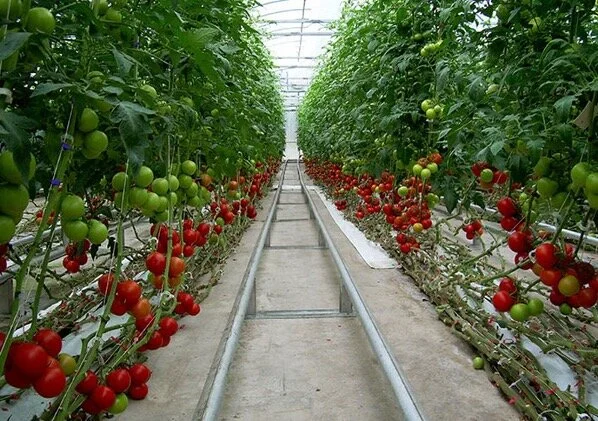
Tomatoes love a rich soil that has been improved with organic matter. Protected tomatoes always perform better; under glass or in tunnels is preferable although they will happily grow outside, especially if it is a warm sunny spot in front of a south-facing wall or fence. They will grow more slowly, however for many amateur growers this will be welcomed.
Many seasoned tomato growers know that once you have grown tomatoes in the same spot in a greenhouse for multiple years, root diseases creep into the soil and can cause havoc with young plants. It is at this point moving to growbags or a container is preferable. Many city growers grow tomatoes in a compost planter pack positioned on a sunny patio or balcony. Gardeners can get great results from a plethora of specific tomato planters because the compost is carefully blended and enriched with nutrients to encourage strong early growth ready for maximum cropping and tasty tomatoes.
Location dictates the support mechanism for tomatoes which can be from a single cane for outside plants to a high wire layered system for greenhouses or even a hanging basket for patios. There are varieties to suit all systems and learning which one suits you is half the fun.
Tomato varieties
There are three different types of tomatoes to choose from. ‘Cordon’ varieties are grown as a single stem that needs support and the side shoots regularly removed. ‘Bush’ varieties need no training, support or stopping. ‘Trailing’ types don’t need support or training and are good for tumbling from patio pots and hanging baskets.
Cordon varieties include: ‘Gardeners Delight’ (small), ‘Sungold’ (small), ‘Cherry Belle’ (small), ‘Alicante’ (medium), ‘Ailsa Craig’ (medium) and ‘Dombito’ (large).
Bush varieties include: ‘Glacier’ (medium), ‘Roma’ (plum) and ‘Marmande’ (large).
Trailing varieties include: ‘Garden Pearl’ (small), ‘Tumbling Tom Red’ (small) and ‘Tumbling Tom Yellow’ (small).
When to plant Tomatoes
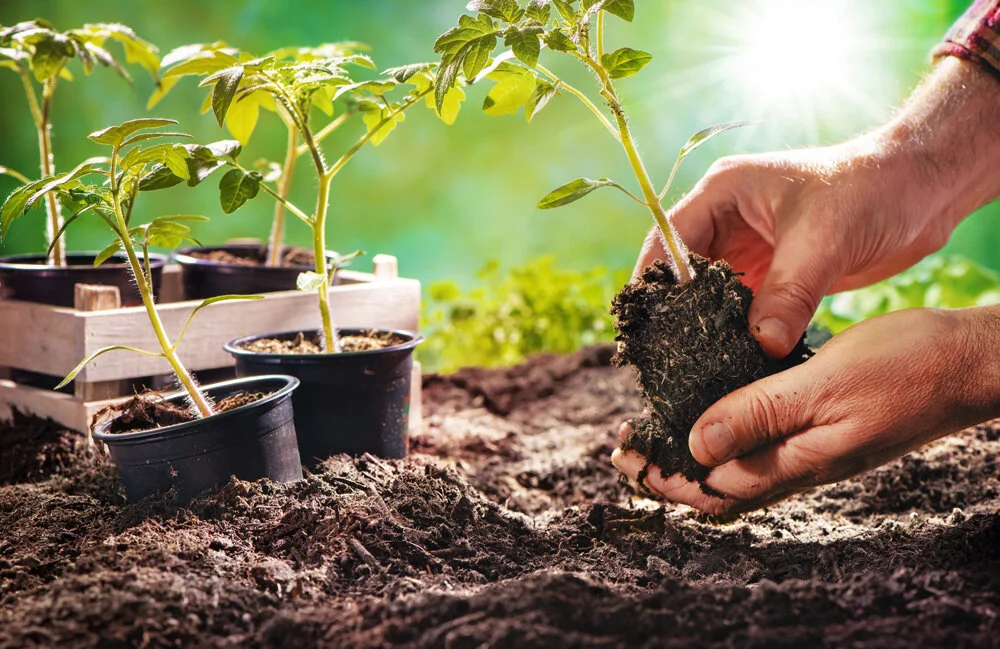
Tomato plants are warm-weather plants, meaning that they will struggle in cold temperatures. If sowing tomatoes in a warm propagator, ensure you buy pre prepared seed and not seed you have from a dried out plant as they need preparation to germinate. Always sow into fine compost to a depth of 1-2cms in a seed tray leaving plenty of room between seeds for lifting. Ideally, once well rooted in the tray and when the seed leaves are fully expanded lift and place into small 9cm pots. Let the roots fully fill the pot before planting so as not to damage the roots. Plant outside only when the night time temperature is consistently above 10°C. In greenhouses or plastic structures this can be earlier and will generally result in you picking tomatoes 3-4 weeks earlier unless you are an expert grower and have night heat on.
If you sow your seeds in April, you will have seedling plants ready for planting outside at the end of May or beginning of June. Plants for growing outdoors should always be hardened off first.
An easier way for the beginner is to buy young plants from a plant nursery or garden centre. This way you can select even plants so they fruit at the same time or if you are adventurous, different types to give you a selection of tomatoes during harvesting. If purchasing in small pots, check how well rooted they are before planting. If they have not filled the pot with roots don’t rush to plant as they will continue to grow for a week or so in the pot.
When planting, temperature of rootzone is important. Planting into cold soil or growbags can check growth and will slow them down. Always warm growbags to above 10°C in green houses if possible, as this will give them a better start.
If planting into soil allow a least 12-18” between plants so leaves of each plant don’t cross and also support with canes or string.
How to plant up Tomatoes in grow bags
Most people cut out large holes in the top of their grow bags. In fact there are generally markings on growbags to fit three tomato plants. However, this is not the best way to do it if you want superb tomatoes.
Top Tip
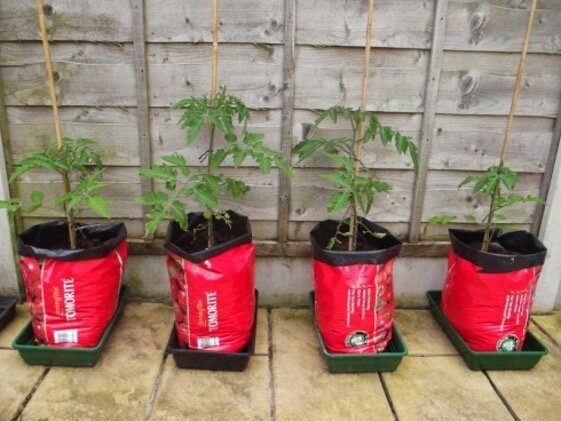
Tomatoes have large tap roots which bend sideways if planted into a flat growbag the roots have to adapt to a restricted root area. Try cutting your growbags in half to make deep pots. This way you can place one or two plants in each pot to double up your fruit number.
Remember to use canes or string to help support the growth of the tomato plant upwards to avoid any sagging or drooping of the plant once it begins to produce fruit. Alternatively use a high horizontal wire and tie strong string to support the plants by wrapping the string around the stem. If using this method ensure you don’t wrap the string under the fruit truss as if can cut into it or restrict nutrient flow.
Tomato management
If planting into soil, a base fertiliser or well-rotted compost/manure can be added to the soil. Compost already contains a little fertiliser, so for all plants wait until the plants produce their first flowers before feeding in earnest. Make sure plants are fully supported at all times and manage as per the following systems.
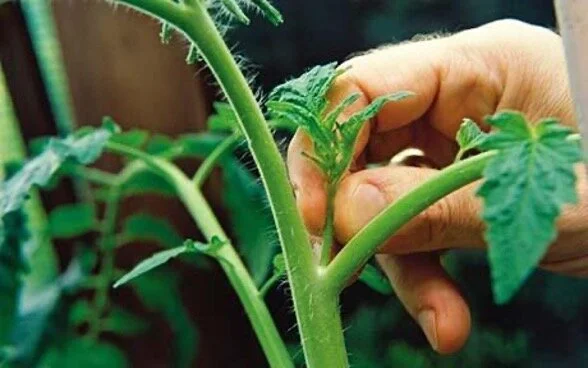
Cordon tomatoes –These are the most common greenhouse tomatoes. Tie the main stem to a vertical bamboo cane or wind it round a well-anchored but slack sturdy string. Remove the side-shoots regularly when they are about 2.5cm (1in) long. If taken out small enough they can just be rubbed with your thumb. If left, they will rob the head of the plant of energy and delay fruiting. If a little too large carefully remove the side shoots with secateurs so as not to damage the stem by breaking off.
When eventually plants reach the top of the greenhouse or cane indoors or four trusses outdoors, remove the growing point of the main stem at two leaves above the top truss. This drives all the energy into the growing fruit and will speed up ripening. It does however speed up side-shoot production so you will also need to keep on top of this.
Many people remove leaves to expose fruits to speed up ripening. Don’t be too eager to do this as it removes the engine from the plant and will slow fruit swell and sugar transfer. As a rule of thumb, remove the leaves to expose only the bottom fruit truss when the first fruit begins to colour orange. Then repeat as picking moves up the stem.
Layering Tomatoes
If growing in greenhouses, you will often find plants will be at 6-7 feet by mid-June and have plenty of energy and time left to continue to grow. If your structure and space allows, why not consider layering the tomatoes. This can be done easily by creating a bobbin of string (see below) above the plant head and unwinding it by two turns when the plant reaches the top of the support wire. Wrap the unwound string around the plant for support and move the head of the plant 30cm (12”) to the right or left depending upon which way you wish to layer. This will allow plants to continue to produce trusses well into September before you stop the head.
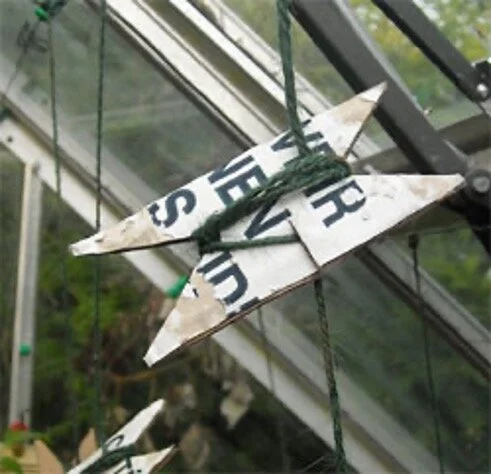
Bobbin of string
Bush and hanging Tomatoes
Those grown as bush or hanging basket types do not need support. Also you won't need to remove side-shoots. Just remove any poor looking leaves and expose the fruit as they ripen.
Blossom end rot
Feeding and watering Tomatoes
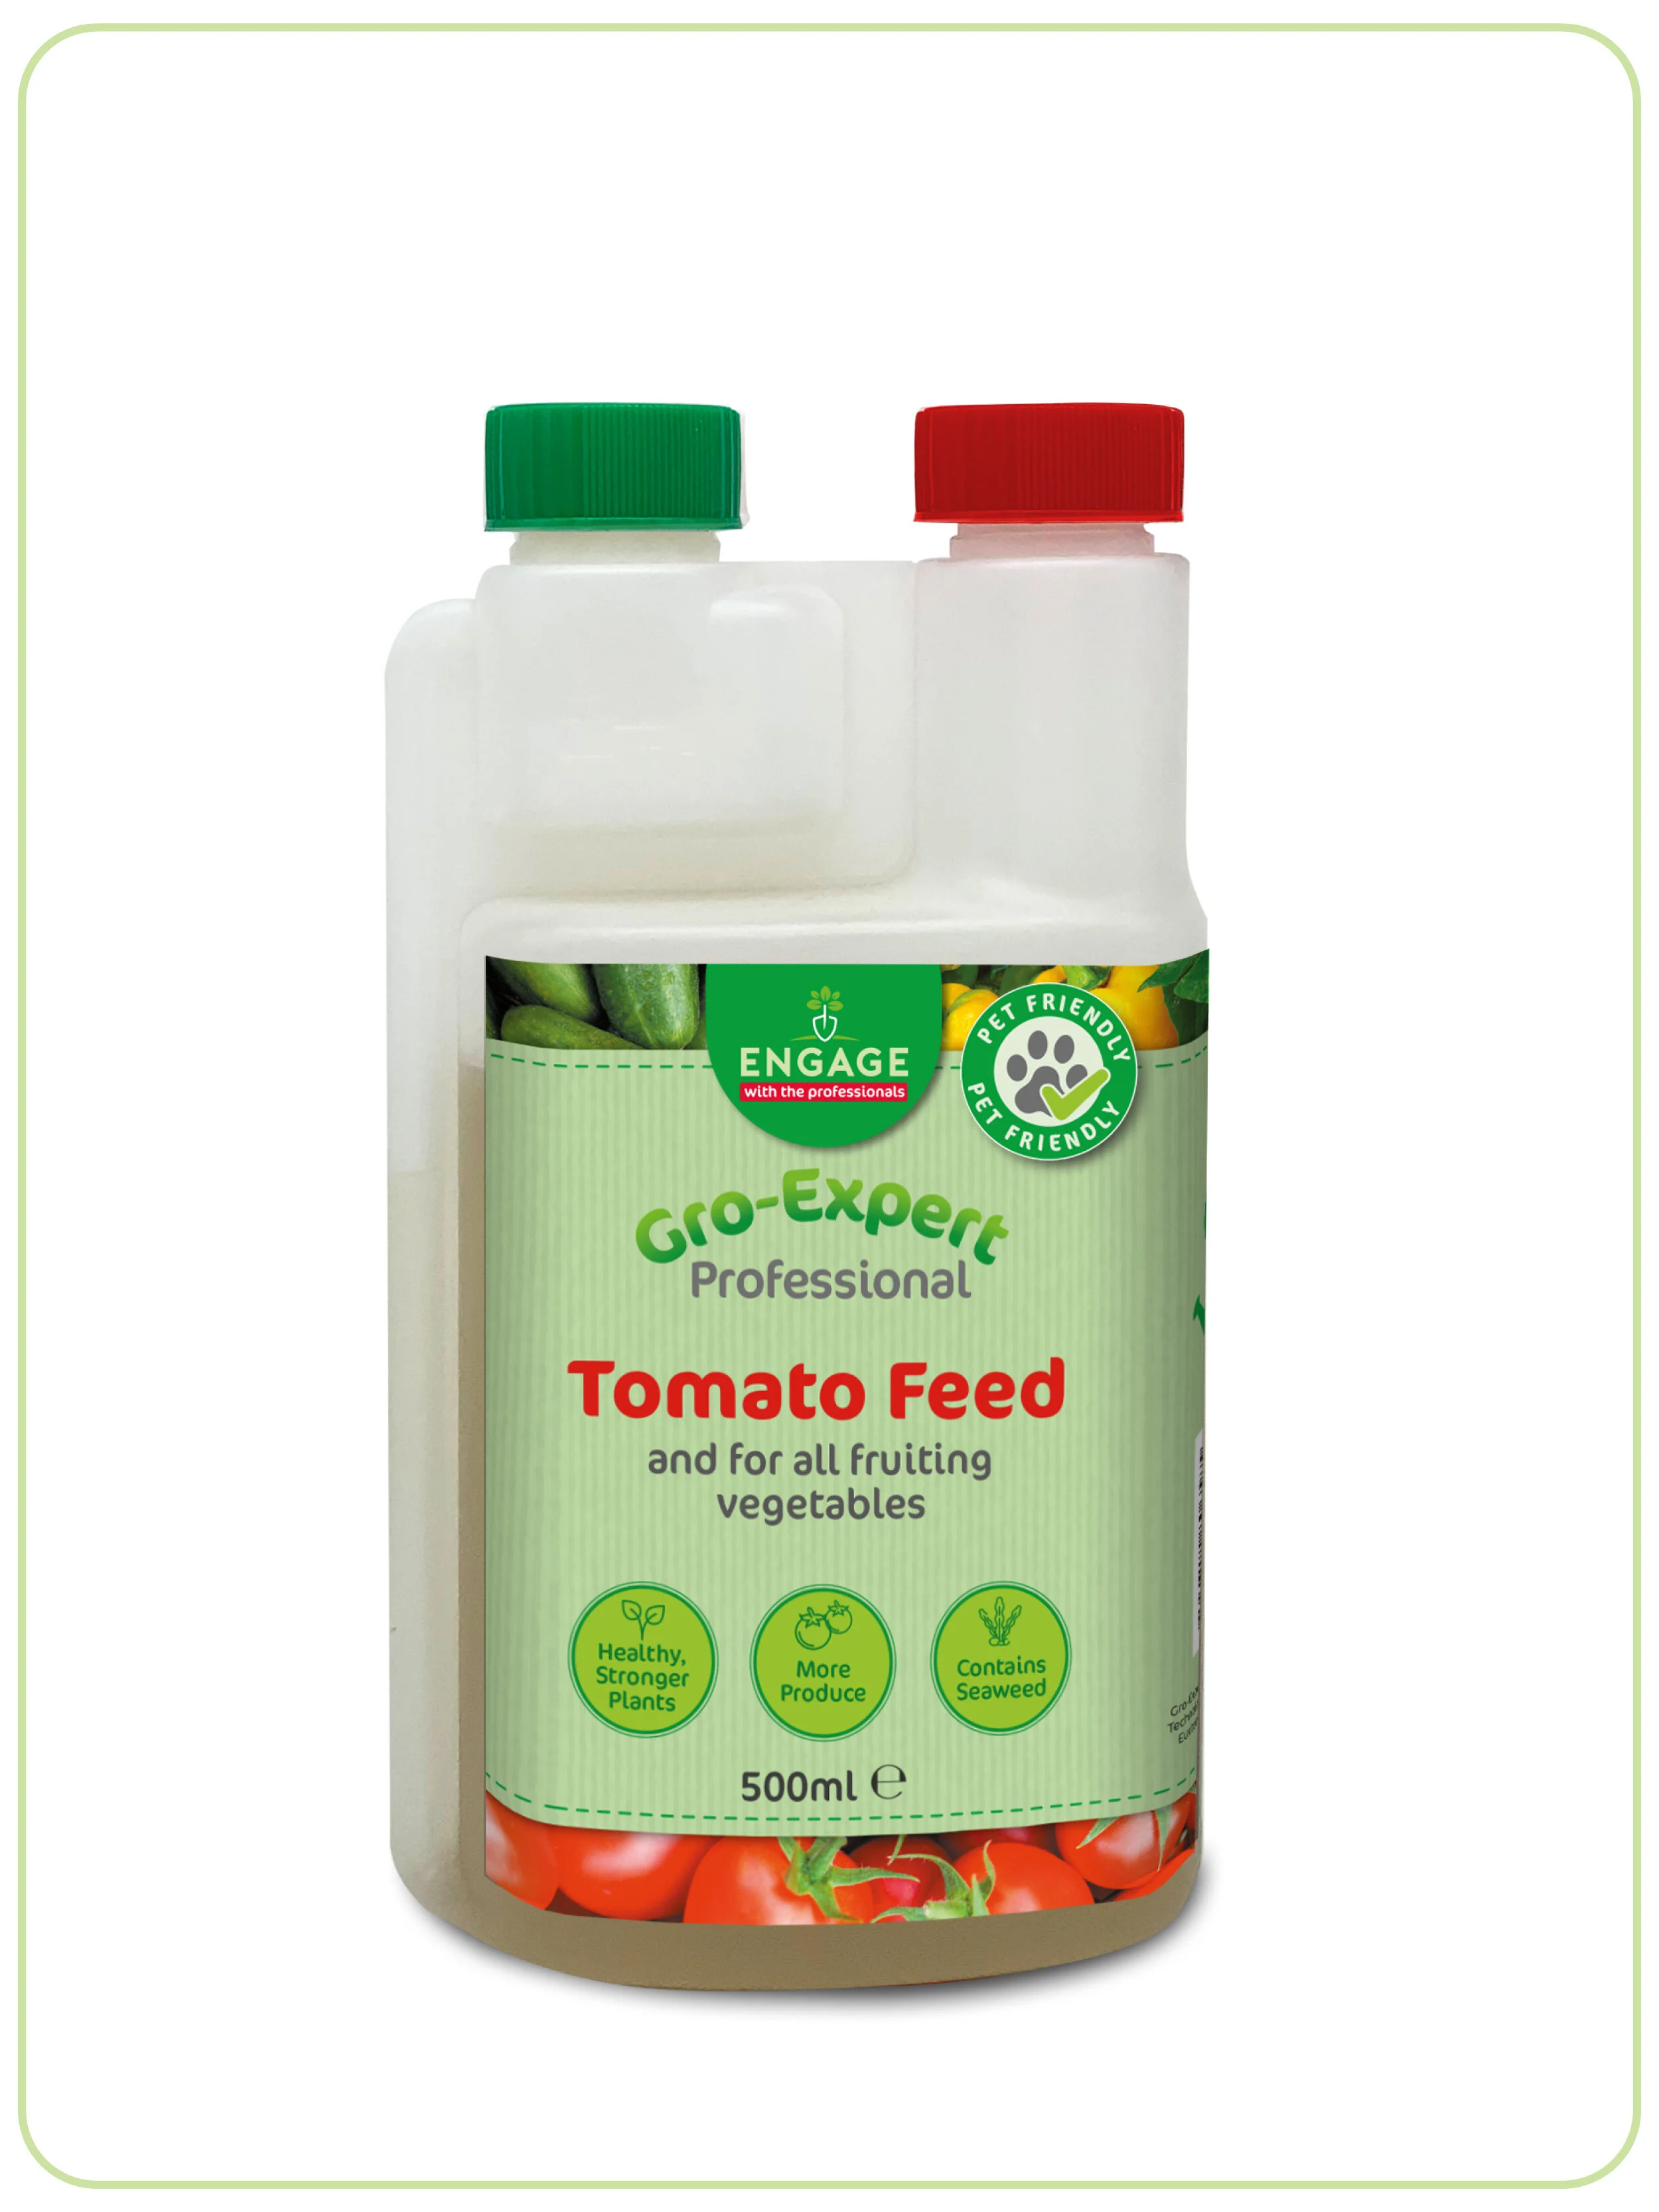
With tomatoes feeding is key and for expert tomatoes feeding every watering is essential. Tomatoes love higher salt levels so don’t be frightened to feed multiple times per week. Water regularly to keep the soil/compost evenly moist. Fluctuating moisture levels can cause the fruit to split. Gro-Expert tomato feed is ideal to use all season long as its ratio of nutrients is set for fruiting plants. Calcium is essential for tomatoes as deficiency leads to blossom end rot - the bottom of the fruit turns black and becomes sunken.
What is blossom end rot?
Blossom end rot is a physiological problem, caused by adverse growing conditions rather than a pest or disease. Certain vegetables that form large fruits, such as aubergines, peppers and (most often) tomatoes are particularly susceptible.
Symptoms
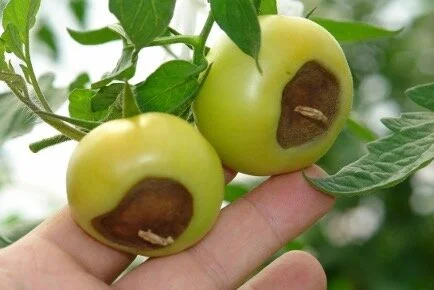
Blossom end rot shows as a circular patch, varying in colour from greenish brown to black, at the end of the fruit that had the flower (the end furthest from the plant). As this patch increases in size it becomes sunken so that the fruit has a flattened appearance at the affected end. The blackened patch varies greatly: in some fruits it is only 1cm (1/2in) across, while in others it is 2.5cm (1in) or more in diameter.
Cause
Blossom end rot is caused by lack of calcium in the fruits. Calcium deficiency reduces cell membrane permeability and this leads to swelling of the cells followed by leakage and destruction of the membrane structure. There is also a reduction in growth of new cells. This causes the characteristic dark, sunken areas.
It is very rare for soils to actually lack calcium, however in growing bags or potting media it is commonplace. There is almost always plenty in the soil and indeed within the plant. In order for calcium to reach the parts of the plant that are furthest from the roots there needs to be a good flow of water through the plant. The fruits that are distant from the roots do not compete as well as the leaves for calcium, leading to a local lack of calcium at the ends of the fruit. The use of rainwater does not help as it has no calcium therefore it needs to be added.
Top Tip
Gro-Expert makes a unique organic calcium which can be added with the feed every time you water. This way blossom end rot can be a thing of the past!
Plants grown with limited root space (e.g. in pots or growing bags) are most at risk of local calcium deficiency in the fruits. Ensure feeding with calcium is maintained throughout the season.
Tomatoes also use lots of magnesium and this can be supplemented with Epsom salts at 5g per watering can every week. Don’t be surprised to see older leaves looking yellow on tomato plants. This is generally the tomato plants moving magnesium from older unproductive leaves to where it’s needed higher up the plant. If the magnesium deficient lower leaves turn purple, just remove them before they drop off.